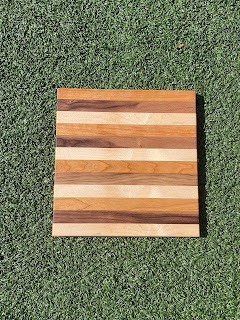
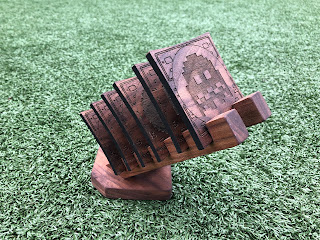
Personal Kitchen cutting board - design tech project
For this project I made a cutting board. We started by paring up into partners. Next, together with out partners we sketched a design for our cutting boards including the pattern dimensions and type of woods that we will use. After that we cut our different pieces of wood into the strips we need using the table saw, and glue the pieces together in our chosen pattern. After the glue dries we put our wood into the planer to make sure everything is smooth and even. And back to the table saw it is to cut the edges so they all line up and divide the board into two different cutting boards for each of us. In this next process we use the router to create an edge of our choice, for my cutting board I decided to round all of the edges. Then it's time sand. Once we are done sanding we varnish our pieces of wood and let it dry. Once done drying we vernish our pieces of wood with metal wool, this makes our pieces of wood feel softer. after that were done. This was my final product.


Comments
Post a Comment