Posts

Showing posts with the label Cutting Board

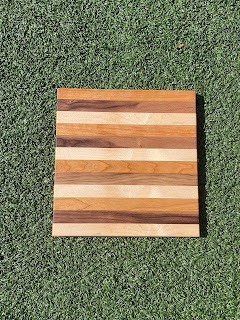
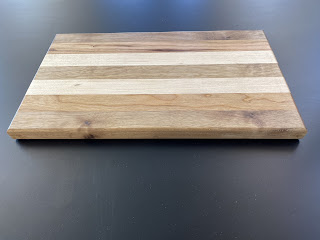
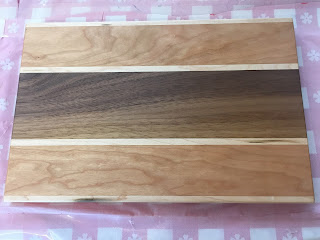
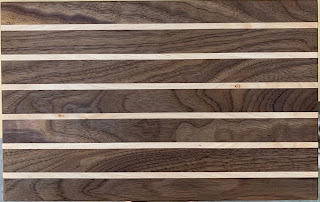
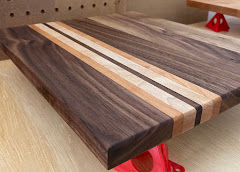
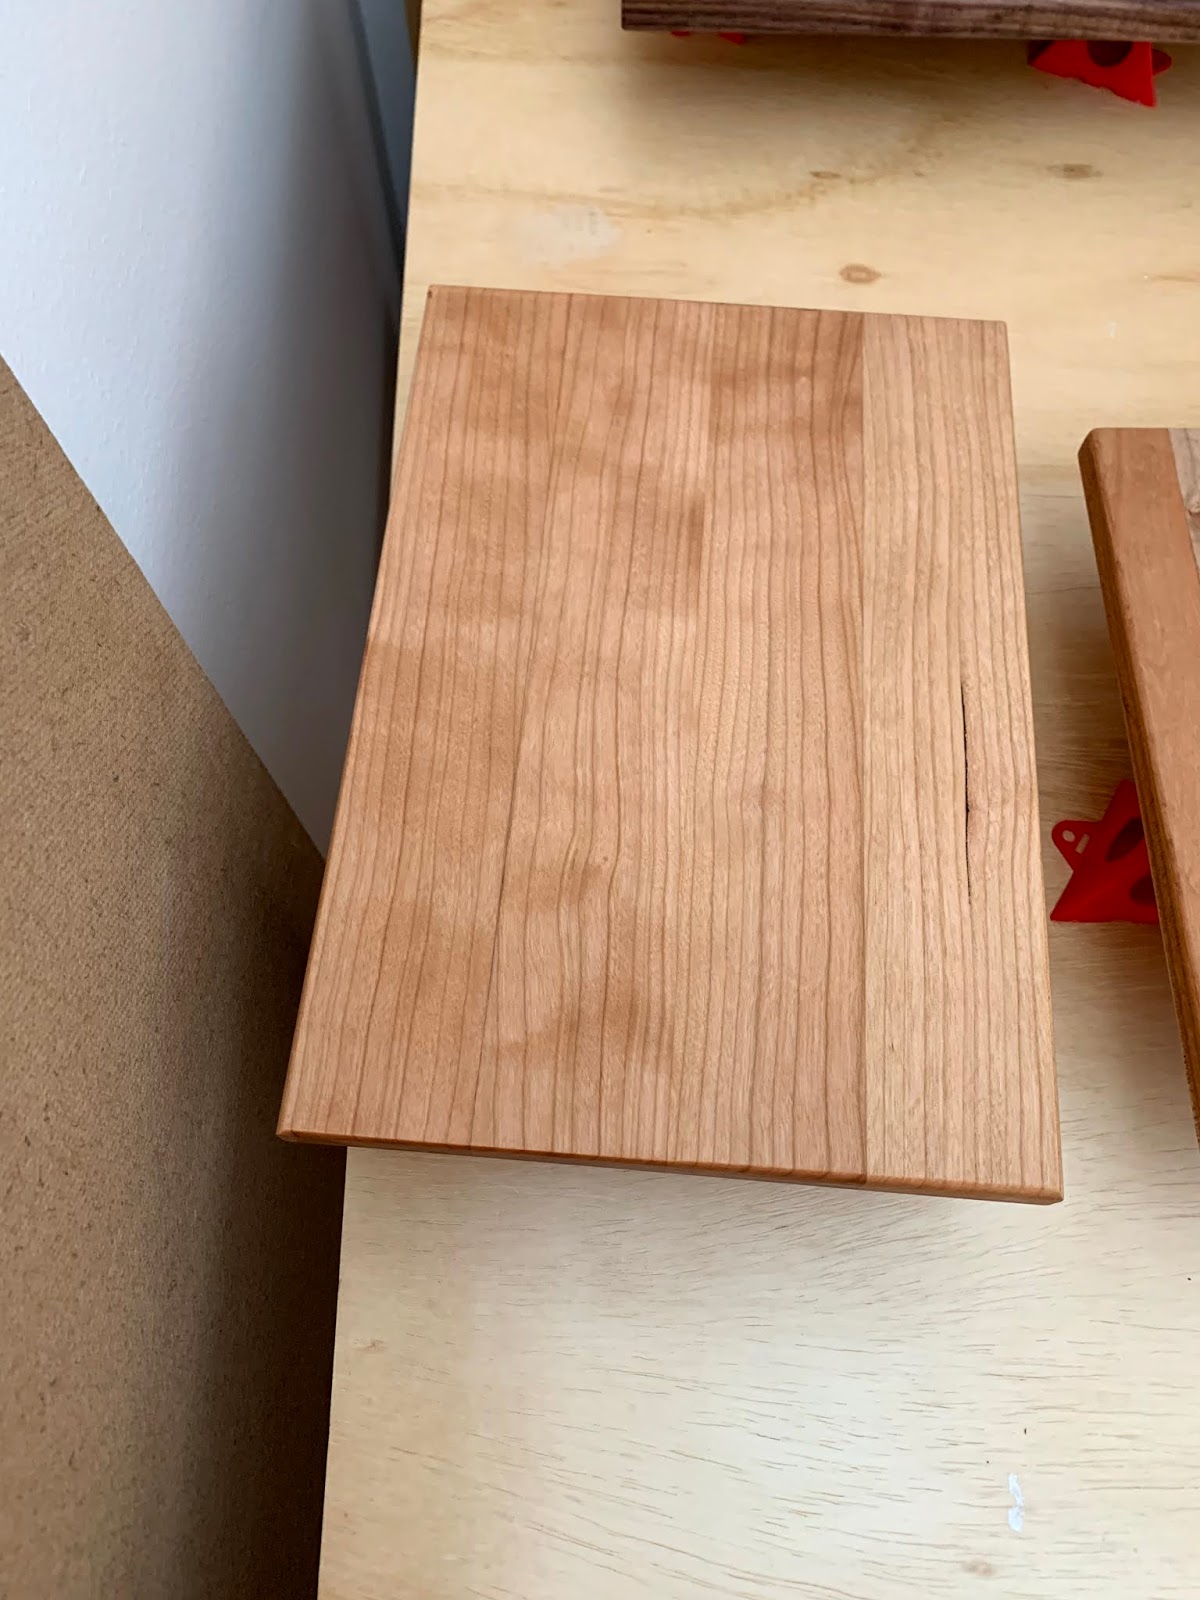
Design tech cutting board --- Isabelle Bostic

  My project was to create a cutting board using different slats of wood. We first cut the wood to size after designing our cutting boards and making measurements. Then we glued them together, let them dry, and routed the edges. Then we sanded it twice (120 --> 220), brushed off the sawdust, and varnished it before letting it dry a final time at an angle.  I really like how it turned out, and I think that the whole process is really cool! However, I would have liked to maybe add a tiny sliver of maple or two to balance it out more and add some dimension to the piece. I think that the hardest part was the routing; I wasn't able to do it, but it looked very difficult. I think I'll give this to my dad for Chanukkah. I'm super stoked to see his reaction!

Wooden Cutting Board Design Tech - John Bishop

Image
 What is your project? What is your project? My project is a wood cutting board made with walnut, cherry, and maple wood. What were the steps you took to complete your project? Pick the wood type and cut list Rough Sketch it Glue wood pieces together Cut edges off and plane Cut board in half and round corners Finish the cutting board with varnishing oil and let it dry Burnish the cutting board and add a second layer of varnishing oil and let dry What do you like most about your project? What i really liked most about my project is the rounded corners, because it makes it feel like a real cutting board you would buy in a store. What was most challenging about this project? The most challenging part about this project was having to plane, halve, and round the corners of the board all in one class. What would you change about this project if you did it again? The thing I would change about this project is switching the gradient to walnut wood in the center. What is your plan for it no...

Asymmetrical serving board

Image
  What is your project? my project is a small serving board How did you make it? We cut many pieces of cherry and walnut ignorer to create our design What do you like most about your project? I like the non standard design of my board. Most people chose to create or use symmetrical cutting boards. I also like that I created a large chamfer on the Bottom edge to create a floating look. What was challenging about this project? it was challenging to decide what points to use so the grain would align nicely. What would you change about the project if you did it again? I would cut the chamfer to be on the other side. it looks fine but I think it could be better. What is your plan for it now that it's done? it will live in the kitchen and be used from time to time with guests.

Awesome cutting board for awesome food - Design Tech Project

Image
 Autumn's supa cutting board My project is an 11-by-7.5-inch cutting board made of cherry, walnut, and spruce wood. The design consists of a large stripe of cherry wood, followed by a medium stripe of walnut, another large cherry, a thin spruce line, and a final medium stripe of walnut. Alex and I worked together to draw the design, cut the strips of wood using the table saw, and glue them together.  After we let the glue dry for two days, we used the table saw to cut the strips of wood in half to make our individual cutting boards and remove any uneven pieces on the sides, and the planer to level the board to one thickness. The last day of this project was mostly using a table router to round off the edges and remove any chips on the corners and sanding (a bunchhhhhh of sanding). We used 120 grit to sand away any surface-level imperfections and any burn marks from cutting the cutting boards in half, then a 220 grit to make the wood super smooth and soft. Finally, I varnished ...

1. Title is [ Cutting Board: Summer Vibes] - Design Tech Project (Alexandria Richard )

Image
  1. Title is [ Cutting Board: Summer Vibes] - Design Tech Project (Alexandria Richard ) 2. Add a MINIMUM of two (2) photos of your cutting board. 3. Add "Design Tech" and "Cutting Board" as labels on your post. 4. Report about your project and reflect on the process by answering the following questions: What is your project?- For this design tech project, we focused on utilizing the wood cutting machines by creating a cutting board constructed of 3 different types of wood. How did you make it? To create our cutting board first, we measured out the dimensions of our wood and used the wood saw to cut out wood pieces to the desired length and width. Secondly, we glued our wood pieces together, clamped them together to dry until the next class. Finally, we used the wood planer to flatten and even out the wood and the router table to round out the edges. To finish up our cutting boards, we sanded them till smooth and varnished for a clean look.  What do you like most ab...

Cutting Board- Design Tech Project

Image
For this project, we began by creating a design in Adobe Illustrator. Once we had finalized our design we started gathering our pieces of wood, making sure that we had the correct sizes and the correct type of wood. After gluing all of the pieces together we sanded vigorously until the wood was smooth. To ensure the wood was on the same level we used a planer. One of the final steps was using a table router to make our edges either rounder or at a 45-degree angle. Before we could see the final product we used a finishing oil that smoothed out the surface and gave it a nice shine. One of our last steps was burnishing with steel wood this took off the first layer of finishing oil while simultaneously making the surface extremely smooth. As our final step, we coated the cutting board in finishing oil once more. My favorite part about this project was gluing all of my pieces together and seeing how sturdy they were, this part was my favorite because it was the step where you could really s...

Personal Kitchen cutting board - design tech project

Image
For this project I made a cutting board. We started by paring up into partners. Next, together with out partners we sketched a design for our cutting boards including the pattern dimensions and type of woods that we will use. After that we cut our different pieces of wood into the strips we need using the table saw, and glue the pieces together in our chosen pattern. After the glue dries we put our wood into the planer to make sure everything is smooth and even. And back to the table saw it is to cut the edges so they all line up and divide the board into two different cutting boards for each of us. In this next process we use the router to create an edge of our choice, for my cutting board I decided to round all of the edges. Then it's time sand. Once we are done sanding we varnish our pieces of wood and let it dry. Once done drying we vernish our pieces of wood with metal wool, this makes our pieces of wood feel softer. after that were done. This was my final product.  My favorit...

He Didn't Make the CUT- Design Tech Cutting Board Project

Image
  For this design tech project, I made a cutting board that's 8 inches by 12 inches, and  3/4 of an inch thick. The cutting board is made out of 3 different types of wood maple, cherry, and walnut. We had a 24 in long board of each. Eli and I worked together, so we first cut our boards into 1-inch strips, and we were able to get 4 strips out of each board. Next we glued the strips together in the pattern of maple walnut cherry and repeated. We clamped the boards together and let them dry overnight. Then we scraped off any leftover glue and sent the board through the plainer to smooth off the top and bottom so it would be a flat surface. Next, we used the table saw to cut the big board in half so there be a cutting board for me and one for Eli, we also cut off the ends so they'd all be the same length. Then I used the router to round the edges of my cutting board making the board easier to pick up and making the edges less sharp. After that I sanded my board by hand with sandpa...

Es Hora de Comer - Design Tech Project

Image
       For this project, students were tasked with creating a cutter board of their design. I made a 12x7x0.75 cutting board, composed of three different kinds of wood. For this cutting board, which includes maple, walnut, and cherry wood, I used different machines and tools. First, I cut seven pieces of 1x12 wood strips using a woodcutter and assembled them to create the pattern I liked. I gave the board an aesthetic finish, such as the round sides, and planned the wood to ensure a flat surface.       What I was most challenged by was stepping up and cutting my wood. Although I was well equipt and understood how to approach it, I couldn't help but feel nervous. My favorite part of this process was cutting the first seven strips. The woodcutter can be intimidating because of the blade, and I was quite nervous prior to my work. But after, I had overcome my fear of the machine, and my strips had turned out great! I felt proud of my work and happy ab...

Design Tech Two Sided Racing Stripes Cutting Board

Image
               What is your project? My project is a cutting board made out of walnut and cherry wood. It has two racing stripes down one side, and one stripe on the other side.  How did you make it? I made it by first drawing out a sketch of the cutting board that was half the scale of my actual cutting board. I then found two pieces of wood that would fit my cutting board, one big piece of walnut, and two smaller pieces of maple. I then used a ruler and pencil to measure out the dimensions of the wood. After figuring out the math and measurements, I rip cut the wood to be the exact width needed. After the rip cuts, we cross-cut the pieces of wood to make the length exact. Once we had all the pieces of wood, we glued together the wood to create our cutting board. After letting the glue dry, we used the planer to level out the cutting board and make it all even. After it was planed we used the router to round edges....

Walnut and Cherry Tracks - Design Tech Project

Image
Everest Leo 3 Wood Cutting Board This is my 12" x 8" cutting board made from walnut (the dark wood), cherry (the lighter, pinkish wood), and maple (the lightest wood) wood. To make this, I started out by using a table saw to cut the pieces of wood I needed for the board, to the lengths that I needed first, then to the widths that I needed. After that, I used wood glue to glue the strips of wood together and I clamped them together so they would stay in one piece once it dried. After it was done drying I used a planer to level out the thickness of the board as some parts were taller than others. This left me with a nice evenly thick board, but it was still not evenly wide in all places so I used the table saw to even out the width. Then, to add a cleaner touch to the board, I used a router table with a round-over bit to round the edges of the cutting board, which also made it less sharp and better to hold in general. Now that the dimensions/design of the board were done it was...

Light and Dark Contrast Cutting Board- Design Tech Project

Image
What is your project? My project is a functional, and good-looking cutting board, made from walnut and maple wood. How did you make it? first I drew out my design, with specific measurements (walnut- 13.5in long, 1in wide, x7. maple- 13.5in long, 1/6in thick, x6), and chose the woods I wanted to use. My second step was cutting my wood into strips, doing a rip cut. After all my woods were at the same thickness, I used a cross cut to make them all the same lengths. Then, I glued them together using wood glue, and put them into a clamp to keep them pushing together while they dried. After they were all glued together, I used the planer to shave off tiny layers from the top, to make the cutting board even. After that was done, I rounded the edges using the router. Then I sanded the whole cutting board by hand, going from 220 grit to 320 grit. My final step was to apply the finishing oil and let it dry.  What do you like most about your project? I like the color scheme the most because ...

The Racing Stripe - Design Tech Project

Image
 Wyatt Quillin Mr. Grisbee Design Tech 19 May 2021 Design Tech Cutting Board       What is My Project? My project is a small cutting board made out of walnut, cherry, and maple woods. It is rounded at the edges and finished with oil.      How Did I Make It? First, I drew the design on paper and calculated the measurements for the cuts. Next, I got my wood and did the initial cuts, and figured out which pieces of wood I could cut again to conserve the amount of wood I used. Next, I did the second round of cuts and glued the pieces together. The next step was to plane the board and use the router to round the edges. The last two steps were to thoroughly sand it and finish the piece with oil.      What Do I Like Most About My Project? I really like how we were able to use different types of wood, which allowed for another design element. I really like the "racing stripe" on my board, and overall it was really fun and educational to mak...

The Surprise! -Design Tech Project

Image
  What is your project? This is my cutting board. It is made out of Maple, Cherry, and Walnut wood.  How did you make it? I made this cutting board by first choosing the wood that I wanted to use. I proceeded to figure out how much wood I needed and make sure that I had the right measurements. I used a table saw to cut my wood into the right with and length. After my pieces were cut I glued them together and used clamps to make sure they were glued correctly. Once my wood pieces made a board I put them through a Plainer to make sure all of the pieces were the same thickness. I proceeded to rout the edges and sand my board. Once it was smooth, I added the finishing to bring out the color and make it more durable.  What do you like most about your project? My favorite part of making my project was cutting all the pieces of wood and using all the machines.  What was challenging about this project? A challenge that I had while making my board was making sure all of my me...

CMW Cutting Board - Design Tech Project

Image
  What is your project? My project is a cutting board made out of a combination of walnut, maple and cherry wood. How did you make it? I used a table saw to cut out 6 pieces of walnut, maple and cherry wood. I proceeded to glue them together and use a planer to make the surface of the cutting board smooth. Lastly, I used a router to smoothen out the corners of the cutting board. What do you like the most about your project? What I like the most about my project is how the different colors of the wood compliment each other really well. What was challenging about the project? The most challenging part of the project was how to get the exact length of each piece of wood properly as the wood would sometimes be too short or too long and it was quite annoying to get the pieces of wood to the right length. What would you change about the project if I did it again? I would probably make the pieces of wood a little wider as I feel that my cutting board is a little too small. What is your pl...

Cherry Wood Cutting Board - Design Tech Project

Image
What is your project? I created a cherry wood cutting board. It is a total of 2 planks of wood, both cut in half and lined up, so it is now 4 separate pieces.  How did you make it? I cut 2 planks of cherry wood in half, planed and leveled, routed the corners off, and finished with a linseed oil and beeswax mix.  What do you like most about your project? I like that I was able to create something that is going to be useful to me in my house. My family does a lot of cooking, and it certainly will not hurt to have another cutting board! What was challenging about this project? To be honest, it wasn't. the toughest part for me was that I wanted to do more, but as our previous project ran longer than expected, I was not able to add in those touches. What would you change about the project if you did it again? I just wish that we could have had those originally planned classes. That was the only facet of this project that I had any real issue with.  What is your plan for it now...