Small to Big Cutting Board - Design Tech Project
Sienna Kissack
Design Tech
Mr. Grisbee
February 07, 2022
Small to Big Cutting Board
 |
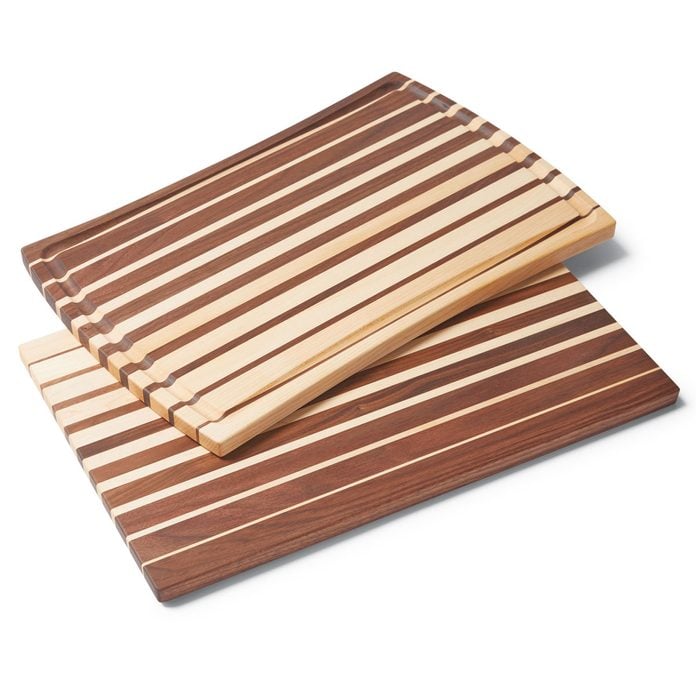
| Reference Photo for Our Cutting Board |
What is your project?
In Design Tech, our group made cutting boards out of three different wooden planks. My cutting board was made out of Walnut and Maple wood.
How did you make it?
I made this cutting board by grouping up with Gloria and drawing out how big we wanted it and how wide. We chose to use Walnut and Maple wood, and used a ruler to measure out how big we wanted our planks to be. Once we measured our wood, we cut them and glued them together in the style we wanted. We used clamps to make sure it was secured and glued correctly. Once our wood was glued, we used a Plainer to make our wood smooth and have the same thickness. We then cut it in half and proceeded to add a chafer to our board and sanded it down. Lastly, we added the finishing to make the color pop and make it more durable.
What do you like most about your project?
What I liked about making this board was sanding it to make it smooth. It felt really nice at the end and I was happy with the outcome.
What was challenging about this project?
The challenging part for me was having to glue it. At first, the Maple and Walnut wood were not the same thickness, and it felt really weird and bumpy, so it was pretty challenging for me.
What would you change about the project if you did it again?
If I could make this board again, I would probably have done a better job glueing and using the Plainer. There was one spot in my cutting board that was uneven and that kind of annoyed me.
What is your plan for it now that it's done?
I plan to use it for cooking and cutting vegetables and other kinds of food.


Comments
Post a Comment